Showing posts with label baby. Show all posts

Saturday, March 10, 2012

Mrs. Hancock's Pudding Cap Pattern: Part Two

On the left is the Pudding Cap from the V&A, on the right is the pudding cap I recreated.
I'm proud to say that the pudding cap is done. Here's how it came together...
I sewed the four triangles together using backstitches and lightly stuffed them with lambswool. I then sewed the band together with backstitches. I cut a piece of pasteboard that I slipped into the band and then...
...using a tension rod, I stuffed it with lambswool.
Next I backstitched the four triangles to the band at regular intervals and applied black velvet ribbon (which is 1/2in thick) straight across the bottom and top seams.
A view from the inside.
I added ribbon to the triangles.
I needed some black grosgrain ribbon to attach to the band to tie it closed. I decided I would sacrifice my trimmed hat...
....and borrow ribbon from the tie. To close the band, I pinned the ribbon inside the fabric.
I backstitched it closed and then whip stitched the ribbon to the fabric to help ensure that it won't rip out.

For the silk ribbon ties at the top (which used two pieces of 19in long ribbon that is 2in thick), I sewed them to two of the triangle's points and declared the project done!

To improve this project:
  • The triangles should be more oblong in shape, to better reflect the original.
  • Using a velvet ribbon that is less than 1/2in thick would also better reflect the original. 
  • I found that the band didn't shrink when stuffed and I ended up cutting about 4in off...it was so big it would have fit my head. 
  • I probably didn't need to have a separate seam on the bottom of the band. It's hard to tell if the original has the velvet trim along the bottom...I'm guessing that it might not in which case I should have cut the fabric to be one continuous piece. 
To read about the "proof in the pudding"--the lambswool and the vintage velvet ribbon trim--visit my blog.

Wednesday, January 18, 2012

Mrs. Hancock's Pudding Cap Pattern

The next project for Miss Hancock is an essential 18th century toddler accessory: the pudding cap.

The authors of 18thcnewenglandlife.org write that, "Pudding caps were common for those learning to walk, perhaps for older toddlers as well. They are a band around the head, lined, stuffed, and edged with leather, tape or suchlike, with ties to hold the circle to the correct size, and other ties under the chin. Some had criss-cross tapes across the top, forming the crown, others have 4 triangles, lined and stuffed like the circle, stitched to it and meeting at the top." 

My goal is to recreate this example from the V&A:

 Child's 'pudding' or safety hat of padded cotton made in the UK between 1775 and 1800

The V&A's description says,

Child's 'pudding' (a safety hat for a young child learning to walk, and designed to fasten horizontally around the head above the ears). The 'pudding' consists of a sausage-like horseshoe-shaped roll of glazed pink cotton, which has a padded white linen inner stiffened with wire and card, and a black petersham ribbon tying string at each end. Four lightly padded triangular flaps of self fabric, stiffened with card, are attached to the roll at regular intervals (partly covering the crown of the head), two of them fastening together over the head with tying strings of broad black silk ribbon. The edges of the triangular flaps and the top seam-line of the roll are all edged with narrow black velvet ribbon.

Since the cap's construction is basic--a band and four triangles--I'm drafting my own pattern. Beth Gilgun's Tidings from the 18th Century includes a pattern, which I'm using as a guide.

To start, I measured Miss Hancock's head which was 18.5in. Gilgun advises adding four inches as the width shrinks when stuffed, so I created a band that is 23.5in long.

I'm not the best at creating straight lines, especially long straight lines. To help prevent crafting a crooked cap, I used my picture hanging level to make sure my picture frame was straight, I then aligned the pattern to the frame's lines to make sure it was even.


Gilgun's pattern calls for four little points on the band, but I eliminated that since the original I'm working from does not have that feature.

I then cut out a pattern for the tabs, 5in high at the center and 2.5in long. To make sure the triangle is evenly shaped, I cut it the same way you would cut a heart from construction paper in grade school.


I then crossed my fingers that this would work and cut the pink cotton fabric. The V&A's pudding cap says it is a glazed cotton. Though my cotton isn't glazed, it has that "new fabric" sheen to it so I didn't wash and preshrink it. (I figured that, once completed, I can spot clean it if necessary.)

I cut two strips for the band. (Though the other extant pudding caps I have researched have linen for the lining, it appears that the V&A's pink pudding cap has the same cotton for the lining.)

And I cut four triangle tabs. It's time to start sewing!

Thursday, December 22, 2011

Miss Hancock Models Her New Stays

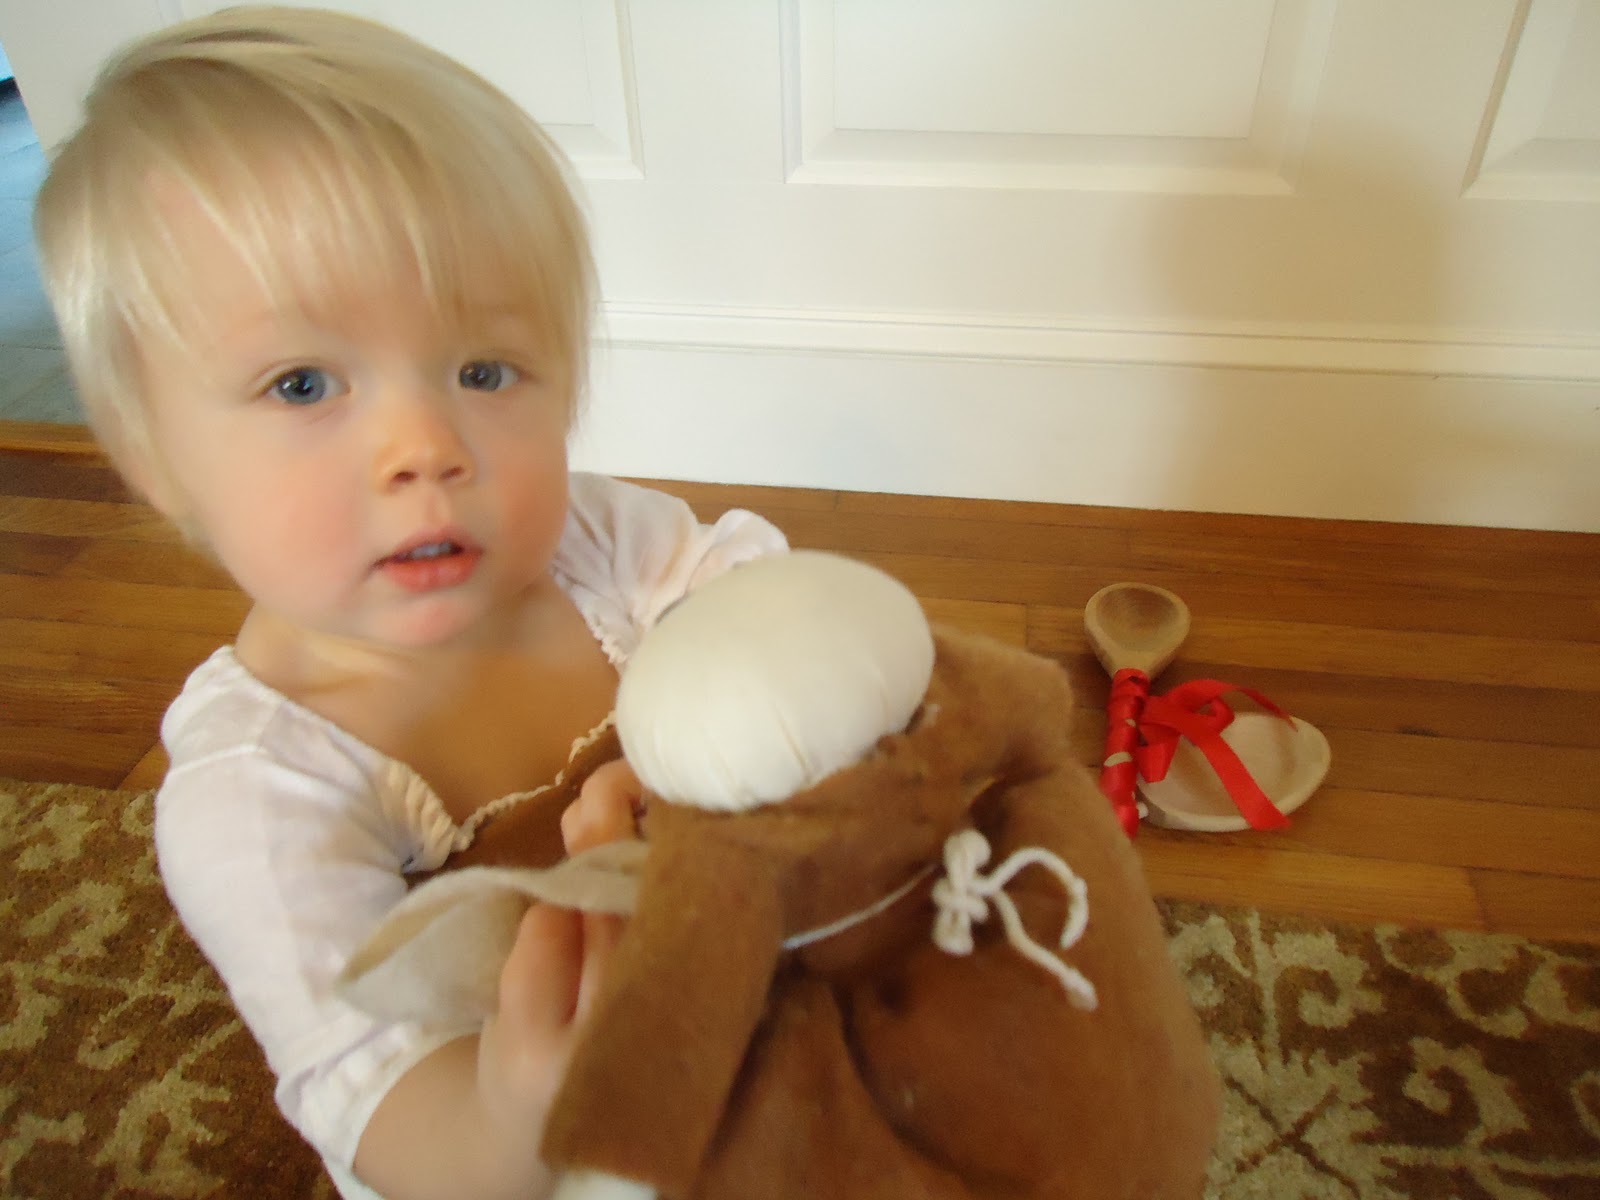
Upon completing the baby stays, Miss Hancock happily modeled them. While she was not a fan of holding still while they were laced up (what 15 month old wants to hold still?) she quickly adapted and had little trouble performing her favorite activities... 
 Like rearranging mommy's spoons...


 ...and banging them on the floor.


She could crawl just fine. 

 
 And she quickly partook in her other favorite dining room activity -- organizing the wooden bowls.


 The only thing she somewhat struggled with was squatting and standing up. But don't we all have those issues when wearing stays? 

Monday, December 12, 2011

Mrs. Hancock's Completed Baby Stays

As you may remember, I have been struggling with the baby stays project. My last conflict centered around the appropriate fashion fabric (I had used green linen which I learned isn't an appropriate color).

So I removed the green linen...


...and choose Burnley & Trowbirdge's cinnamon camlet. It's a more appropriate weight (the green linen was a little sheer) and a more appropriate color.


I attached the new fashion fabric...


...and whip stitched the panels together.


I then bought an awl and marked where each eyelet should go.


Punching the eyelet holes was much easier than I had antiticapted thanks to my new tool. (Which much be the best $6 I ever spent!) 


For making the eyelets, I basically had to make two eyelets for each hole--one on the front and one inside.


I then added a scrap of printed cotton on the center front (to create a little cushion for comfort)...


...and laced them up with some cotton tape.


The shape of this pair of stays was rather boxy. I bent the pasteboard so it would better reflect a rounded body shape and would be more of a natural fit for Miss Hancock.


Up next - my little one will model her first pair of stays!


Sunday, November 6, 2011

Mrs. Hancock’s Baby Stays: Finding Fashion Fabric


As you may remember from my last post, the baby stays need fashion fabric. The wool I had intended to use was a bit too bulky, so I searched my scrap stash (that is, fabrics leftover from previous projects) and I decided to use a scrap of dull green linen because:

a) I have plenty of it.
b) It’s a fairly lightweight fabric so it should work well for the summer.

In a quick scan of the Philadelphia Museum of Art's collections I found this example: 

Women's stays, mid 18th century Accession Number 1903-135
The fashion fabric is a glazed wool that is the same kind of green as my fabric.
And I found this...

Child's stays, c.1770-1790 Accession Number  1988-15-1
The fashion fabric is a gold coarse, plain weave linen. 
If you consider that the green lady's stays are the same color as my fabric, and the child's stays are the same type of fabric that I have on hand, it would seem sufficient to use my dull green linen, right?

So I did.


I covered the outer part of the stays...


I had to piece the fabric together at the bottom front since the fabric was a little too short.


I whip stitched the fabric to the lining.


And whip stitched each panel together. 


And I thought that they were almost complete, that I just needed to make the eyelets. 

However, Mrs. Peabody recently blogged in her post TextileThoughts about ceasing to use linen colors that are not documented, such as green.

This is a bummer because:

a)      I had thought that the project was nearly complete.
b)      I made a petticoat with this linen that I'll have to retire. And I used a scrap to line my absolutely favorite accessory, my needlework bag, which will have to take apart and redo. : (

Sew. Does it seem too much of a stretch to use green linen for baby stays? Or should I snip it off and start over?